Understanding WebGL 2.0 Raymarching Rendering
Deep dive into WebGL 2.0 Raymarching technology, learn how to use SDF signed distance fields for real-time volume rendering, and how this technique pushes GPU performance to the limit.
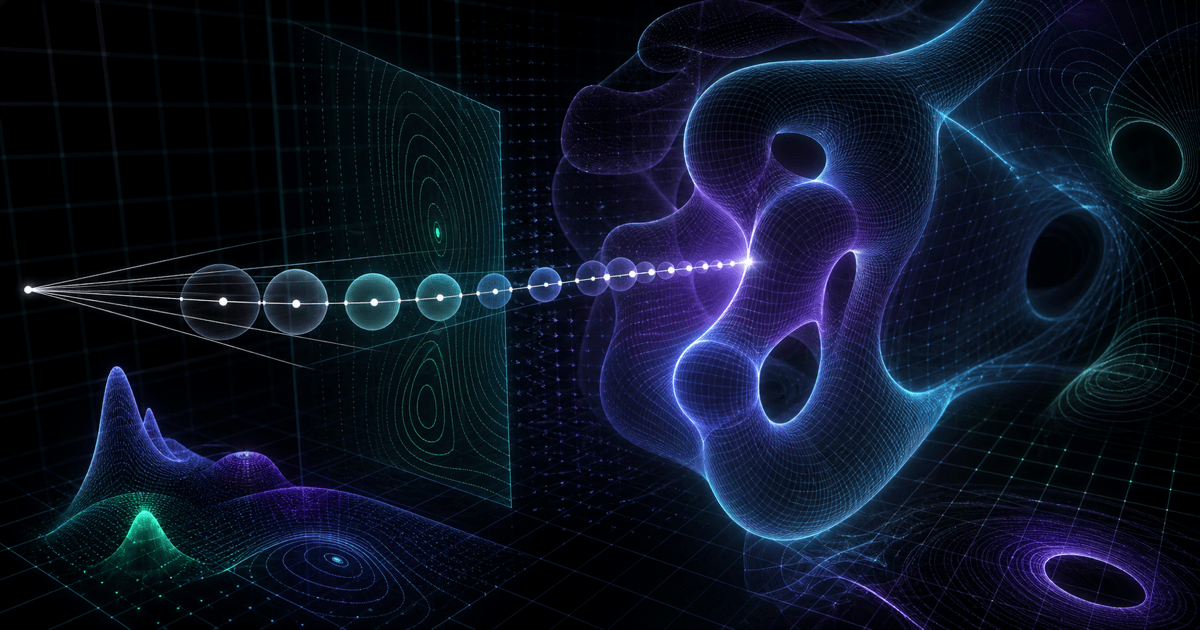
A deep dive into WebGL 2.0 raymarching, SDFs, and real-time volumetric rendering
WebGL 2.0 unlocks a powerful set of GPU features, enabling advanced rendering techniques that traditionally required native APIs. Among these, raymarching stands out as one of the most expressive and mathematically elegant methods for rendering complex scenes with minimal geometry.
This article walks through the core concepts behind WebGL 2.0 raymarching, explains how Signed Distance Fields (SDFs) enable efficient rendering, and shows how this technique can squeeze astonishing performance from the GPU.
1. What is Raymarching?
Raymarching is a rendering method where, instead of projecting geometry onto the screen, we fire a ray from the camera per pixel, move it step-by-step through a virtual scene, and evaluate distances until the ray hits a surface or reaches a maximum range.
1.1 How Raymarching Works (Visual Diagram)
Camera
  |
  | ray
  v
  +--------------------------------- Screen Pixel
  |
  | march step 1      (distance d1)
  |
  |---------> march step 2      (distance d2)
  |
  |-----------------------> march step 3 ...
  |
Surface reached when distance < ε
Raymarching is essentially a loop:
for (int i = 0; i < MAX_STEPS; i++) {
    float dist = sdf(currentPos);
    if (dist < EPSILON) hitSurface();
    currentPos += rayDir * dist;
}
The magic ingredient is the SDF function we pass in.
2. What Are Signed Distance Fields (SDFs)?
A Signed Distance Field is a function that returns:
> 0  distance outside the object
= 0  exactly on the surface
< 0  distance inside the object
2.1 SDF Diagram
           outside
        +------------+
        |   d = 0.5  |
        |            |
inside  |     SDF    | surface d = 0
d < 0   |            |
        |   d = -0.3 |
        +------------+
2.2 Example: Sphere SDF
float sdSphere(vec3 p, float r) {
    return length(p) - r;
}
By combining these basic shapes with boolean operations (union, subtraction, intersection), you can build complex scenes without any traditional geometry.
3. Why Use SDF Raymarching in WebGL 2.0?
3.1 Benefits
No vertex buffers or meshes needed Everything is computed mathematically in the fragment shader.
Infinite geometric detail SDFs define smooth and continuous surfaces.
Dynamic, deformable objects Easily animate shapes with math.
Compact scenes A full 3D scene may be defined using just a few lines of GLSL.
3.2 WebGL 2.0 Features That Make It Possible
- High-precision floats
- Full GLSL ES 3.0 shader support
- UBOs (uniform buffers)
- Float textures
- More flexible loops & branching
This allows stable, high-performance raymarching that was difficult in WebGL 1.0.
4. Building a WebGL 2.0 Raymarcher Step-by-Step
4.1 Scene Ray Setup
Compute a ray for each pixel:
vec3 rayOrigin = cameraPos;
vec3 rayDir = normalize(uv.x * camRight + uv.y * camUp + camForward);
4.2 The Raymarch Loop
float marchRay(vec3 ro, vec3 rd) {
    float totalDist = 0.0;

    for (int i = 0; i < MAX_STEPS; i++) {
        vec3 p = ro + rd * totalDist;
        float d = map(p);     // your SDF function

        if (d < EPSILON) break;    // hit
        if (totalDist > MAX_DISTANCE) break;  // miss

        totalDist += d;
    }
    return totalDist;
}
4.3 Defining the SDF Scene
float map(vec3 p) {
    float s = sdSphere(p, 1.0);
    float box = sdBox(p - vec3(2.0, 0.0, 0.0), vec3(0.7));
    return min(s, box); // union
}
4.4 Normal Calculation
Using gradient approximation:
vec3 calcNormal(vec3 p) {
    const vec2 e = vec2(0.001, 0.0);
    return normalize(vec3(
        map(p + e.xyy) - map(p - e.xyy),
        map(p + e.yxy) - map(p - e.yxy),
        map(p + e.yyx) - map(p - e.yyx)
    ));
}
4.5 Lighting Model
Simple diffuse shading:
float diffuse = max(dot(normal, lightDir), 0.0);
5. Rendering Volumes (Fog, Clouds, Smoke)
SDF raymarching can be extended to volumetric rendering, where each step contributes color and density instead of stopping at a surface.
5.1 Volume Diagram
Ray →
[small density] [medium] [dense] [opaque]
   +--------+---------+---------+-------+
   sample1   sample2    sample3  sample4
5.2 Volume Accumulation Model
vec3 color = vec3(0);
float absorption = 1.0;

for (int i = 0; i < STEPS; i++) {
    float density = computeDensity(p);
    vec3 sampleColor = density * vec3(0.6, 0.7, 1.0);

    color += sampleColor * absorption;
    absorption *= (1.0 - density * 0.1);

    p += rd * STEP_SIZE;
}
Raymarching volumes is more expensive, but WebGL 2.0's performance improvements (especially on mobile GPUs) make real-time clouds, fog, and nebulae feasible.
6. Performance Optimization Techniques
Raymarching can be heavy, so optimizations are essential.
6.1 Key Techniques
Distance Culling Skip large empty areas by relying on accurate SDF distances.
Bounding Volumes Test if the ray even enters the region where SDFs exist.
Adaptive Step Size Use smaller steps near surfaces, larger steps in open space.
Early Exit Stop marching as soon as the surface is hit.
Reduce MAX_STEPS Typical values range from 64–128 for real-time rendering.
Use WebGL 2.0 uniforms & buffers efficiently Move non-changing values out of loops.
7. Code Structure for a WebGL 2.0 Project
Directory layout example:
shader/
  raymarch.vert
  raymarch.frag
src/
  webgl2-context.js
  camera.js
  renderer.js
index.html
Typical fragment shader sections:
// 1. Camera/Ray Setup
// 2. SDF Definitions
// 3. Material & Lighting Functions
// 4. Raymarch Loop
// 5. Final Color Output
8. When Should You Use Raymarching?
Raymarching excels when you want:
- Infinite smooth shapes
- Fractals
- Sci-fi scenes
- Signed distance soft shadows
- Procedural geometry
- Volumetric effects (clouds, fog, god rays)
Avoid raymarching when you need:
- Many detailed complex meshes
- Realistic skinned characters
- Large dynamic scenes with thousands of objects
Raymarching is best for procedural worlds and stylized visual effects.
9. Conclusion
WebGL 2.0 raymarching brings advanced real-time rendering to the browser using nothing more than math and GLSL. With SDFs, you can create complex 3D scenes without a single vertex buffer. Although the technique is computationally intensive, careful optimization allows expressive visuals that rival native GPU applications.
Raymarching represents a unique intersection of mathematics, art, and GPU programming, making it one of the most exciting techniques to explore in modern WebGL development.
Why this matters for the Volume Shader BM Test
You read the theory — here is the practical bridge back to the Volume Shader BM Test you came from.
Why this test is harder than a normal 3D demo
A typical WebGL demo draws a few thousand polygons. This benchmark asks the GPU to run a raymarching loop per pixel — often 1,000+ iterations each — with no geometry shortcut to skip the work. Mid-range GPUs that play games at 60 FPS routinely drop under 30 FPS in Heavy mode here.
Why FPS drops on mobile devices
Phones throttle aggressively once the SoC heats up. The first 10 seconds look great, then the GPU clock steps down. Plug the device in, run Light or Medium, and compare phones by stability, not peak FPS. See the phone GPU test guide.
Why the first run may be slower (shader compilation)
The first load compiles GLSL into a driver-specific binary, which can take hundreds of milliseconds and shows up as a single stutter near the start. Discard the first run; use the second.
How to compare results fairly
Same mode, same browser tab in the foreground, same power source. Different modes (Light vs Medium vs Heavy) cannot be compared directly — they run different shader workloads. See the FPS result guide.
What to do if the browser uses integrated graphics
On laptops with both an iGPU and a dGPU, Chrome / Edge often default to the integrated one. Open chrome://gpu and check GL_RENDERER. If it shows your iGPU, force the browser onto the dedicated GPU in OS graphics settings. The lagging fix guide walks through each step.
Try the test
You have the theory. Run the actual raymarching benchmark — it takes under a minute.